
Help Centre
<
HomeDigital Assistant is pre-populated with a variety of campaigns that are designed to reduce bounce rates and drive sales.
These campaigns have been preset for optimum conversions and experience by our eCommerce strategists, making it simple to set up a campaign in a matter of minutes, or you can customise your campaigns to your own needs.
Step one: Choose a campaign
To start, find the Launch a campaign button in the dashboard Main Menu. This takes you to the Digital Assistant campaign store to see the campaigns available.
The Digital Assistant campaign store offers you a range of campaigns based on proven strategies that will boost your conversions.
You will find the strategy subheadings listed along the top of the dashboard, which will take you to the relevant strategy you need:
- Create urgency
- Grow mailing lists
- Showcase products
- Offer an incentive
- Third-party
- Boost shopper confidence
- Competitor comparison
- Custom messaging
Upon clicking your chosen campaign you will be presented with either a Learn More button to explore how the campaign works and watch a video on its benefits or the Launch button to begin designing the campaign.
Step two: Select your campaign type
Once you have chosen your campaign template you can begin the simple setup process of creating a campaign.
- Select your message type depending on the size of the campaign you would like to deliver to customers.
- You will be presented with a choice of Small Message, Large Message, if you have selected an Overlay tagged campaign you will see a third option for selecting an Overlay design option.
- Once you have selected your campaign of choice you will see a preview, then click Next to be directed to the Customise your campaign step.
Step three: Customise your campaign
- Edit the colour and text content by clicking the main section of your campaign.
- Changes to the text displayed on any campaign can be completed by simply clicking the text section and editing the existing text.
This also applies to any CTA Buttons or Small Print elements contained on a campaign template.
- To edit the design or imagery in your campaign select the area and you will be presented with the option to Upload Image or change the background colour.
Step four: Finalise your campaign
Use the duration section to schedule your campaigns in advance or simply skip this option if you wish to manually enable and disable your campaign.
Triggers
Triggers are a great way to control how a message or Overlay should appear on your site, allowing you to set campaigns to display based on the behaviour of shoppers.
Campaigns that require our Overlays solution offer you the choice to choose from a variety of triggers. Simply click Add trigger to see the options available to you.
Visit the triggers section of the Help Centre for further insight into how each trigger works.
Conditions
Conditions work alongside triggers to target different visitor types and to segment what is required for a campaign to show on your site.
Campaigns that require our Overlays solution offer you the option to choose from a variety of conditions. Simply click Add Condition to see the options available to you.
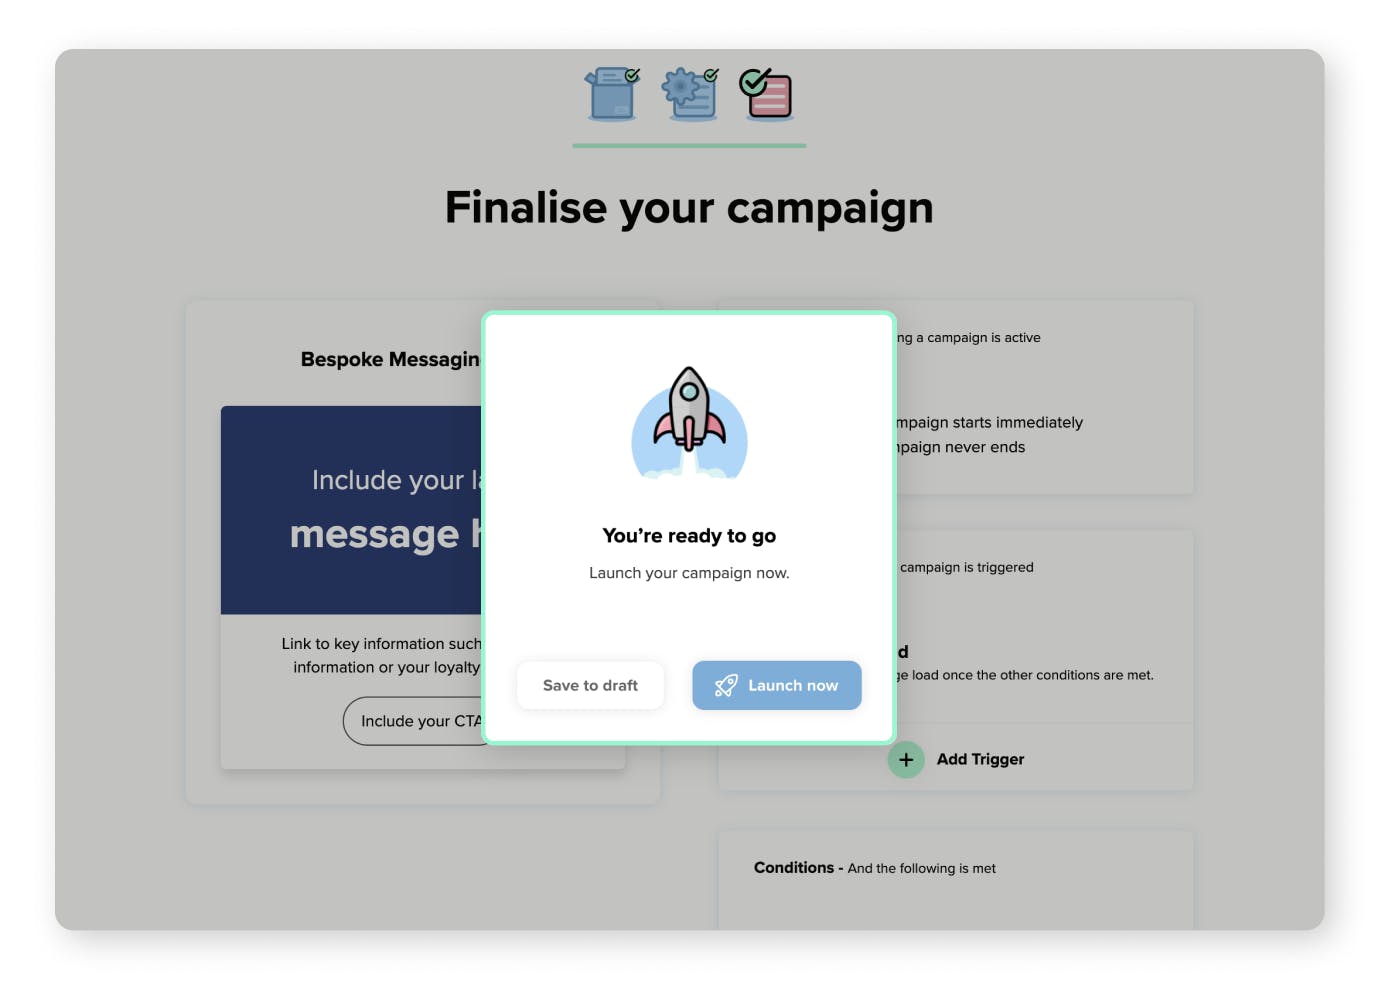
Step five: Set your campaign live
Once you have selected the best option for the campaign this will take you to the campaigns section of the dashboard.
Campaigns with a green dot are enabled and live on site and campaigns with a red dot are not currently live. Campaigns scheduled for a future date will show a red dot until the campaign is live.
Use the enable toggle to set your campaigns live or switch off as required.
Make sure to check out our Digital Assistant Help Centre articles for any further support. We hope you enjoy implementing your campaigns with Digital Assistant.