
Help Centre
<
Home
Managing Messenger
Salesfire’s Messenger gives you the ability to chat with customers through your website or receive enquiries. You can navigate customers to their ideal purchase, quickly answer specific queries or update customers on their orders.
To manage the Messenger tool efficiently follow the below steps:
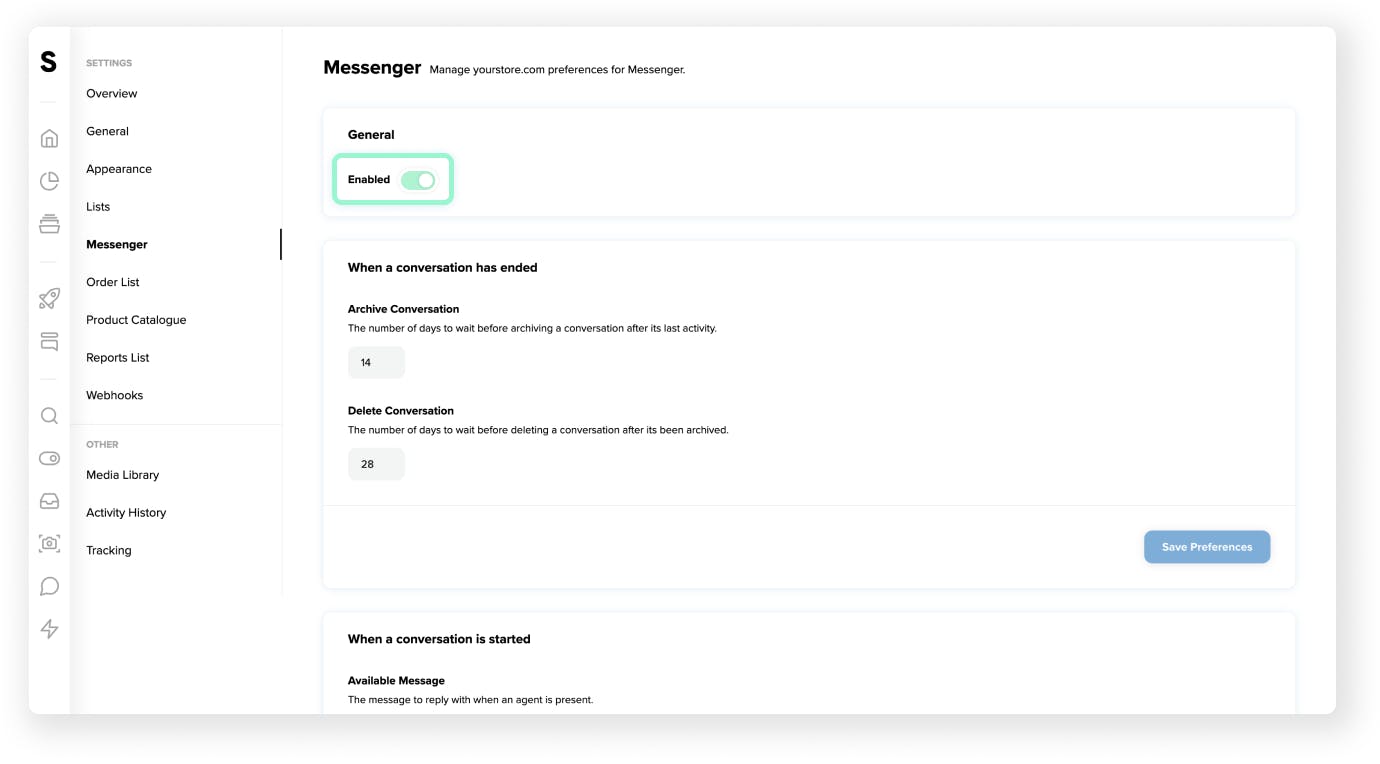
- Head to the side navigation panel in your dashboard and go to Settings and select Messenger. Here you will find preferences for the set-up of Messenger.
- To start you will see a toggle to Enable and activate the Messenger function on your website.
- Below this you will see the options to Archive or Delete chats after your chosen timeframe has passed. These functions have been created to allow you to delete previous chats from customers in order to not keep hold of sensitive data for longer than required.
- Below this you will also see the option to personalise the auto-response messages sent from Messenger when a user sends a message.
- To monitor your chats navigate to Messenger in the side navigation panel of your dashboard. Here you will find messages and further details including the date the chat was sent, the location and any other relevant information.
You will also find the Away toggle in this section. When set this will display the message you set up earlier in the Unavailable message section.
Messenger and Digital Assistant
If you are utilising Messenger through Digital Assistant and want to edit the welcome message for the chat function please visit Settings in the menu navigation of your dashboard and select Appearance.
In the settings, you will see the Header section. This is where you will find the prepopulated welcome message and the ability to change this to suit your business.