
Help Centre
<
HomeSegments are available within your Salesfire dashboard to allow automated segments to be created based on visitor behaviour such as conversion rate, last search result and last purchased.
Segment your contacts to run targeted campaigns to specific criteria groups. Segments can be created in your Salesfire dashboard to identify the criteria that a user must meet to be included in a data set, allowing you to send highly personalised email and SMS campaigns to users.
Setting up segments
To create a new segment, select the Audiences option from the main nav menu in your Salesfire dashboard.

Segments best practices
Choose the Segments & Lists tab within the Audiences section. Here you will find some default-created lists to help with running targeted campaigns:
- Known non-buyers - customers who have had data collected with no purchase history.
- Known one-time buyers - customers with one purchase since their data was collected.
- Known repeat buyers - customers with more than one purchase since their data was collected.
These default segments have been created with eCommerce best practices in mind and enable you to start segmenting your audiences based on data collected and buying history.
Creating a new segment
- To create a new segment for specific target campaigns select Create new.
- Upon creating a new segment a small modal will appear, select Add Group to begin.
- This will then reveal the criteria section where you may choose a subject for the segmentation group.
- The subject will be ''Person has an attribute' this will allow the section to establish from your contacts, what attributes users fit to segment accordingly in the next step.
- Next, you can choose from the attribute dropdown list to set the criteria required for your segmented campaigns.
The criteria can include the following rules:
Segment criteria options - Person has an attribute
- Lifetime Spend - set the criteria of your segment to include a lifetime spend of a set value.
- Lifetime Purchases - set the criteria of your segment to include a total lifetime purchase value.
- AOV - set the segment criteria based on an average order value. Add the monetary value to the field and choose less than, greater than or equal to the amount set.
- CR - set the criteria to the conversion rate percentage desired for the segmented list.
- Last Purchased at - set a timeframe for when a customer last purchased. For example, before 30 days means they will be added if they have not purchased for at least 30 days.
After 30 days means they have purchased in the last 30 days. - Last Contacted at - set a timeframe for when a contact was last contacted. For example, before 180 days means they will be added if they have not been contacted for at least 180 days.
After 180 days means they have been contacted in the last 180 days. - Last Visited at - set a timeframe for when a contact last visited your site. For example, before 180 days means they will be added if they haven’t visited for at least 180 days.
After 180 days means they have visited in the last 180 days. - Total Sessions - set a numerical value for the total number of sessions a data set must have in order to be added to a segment.
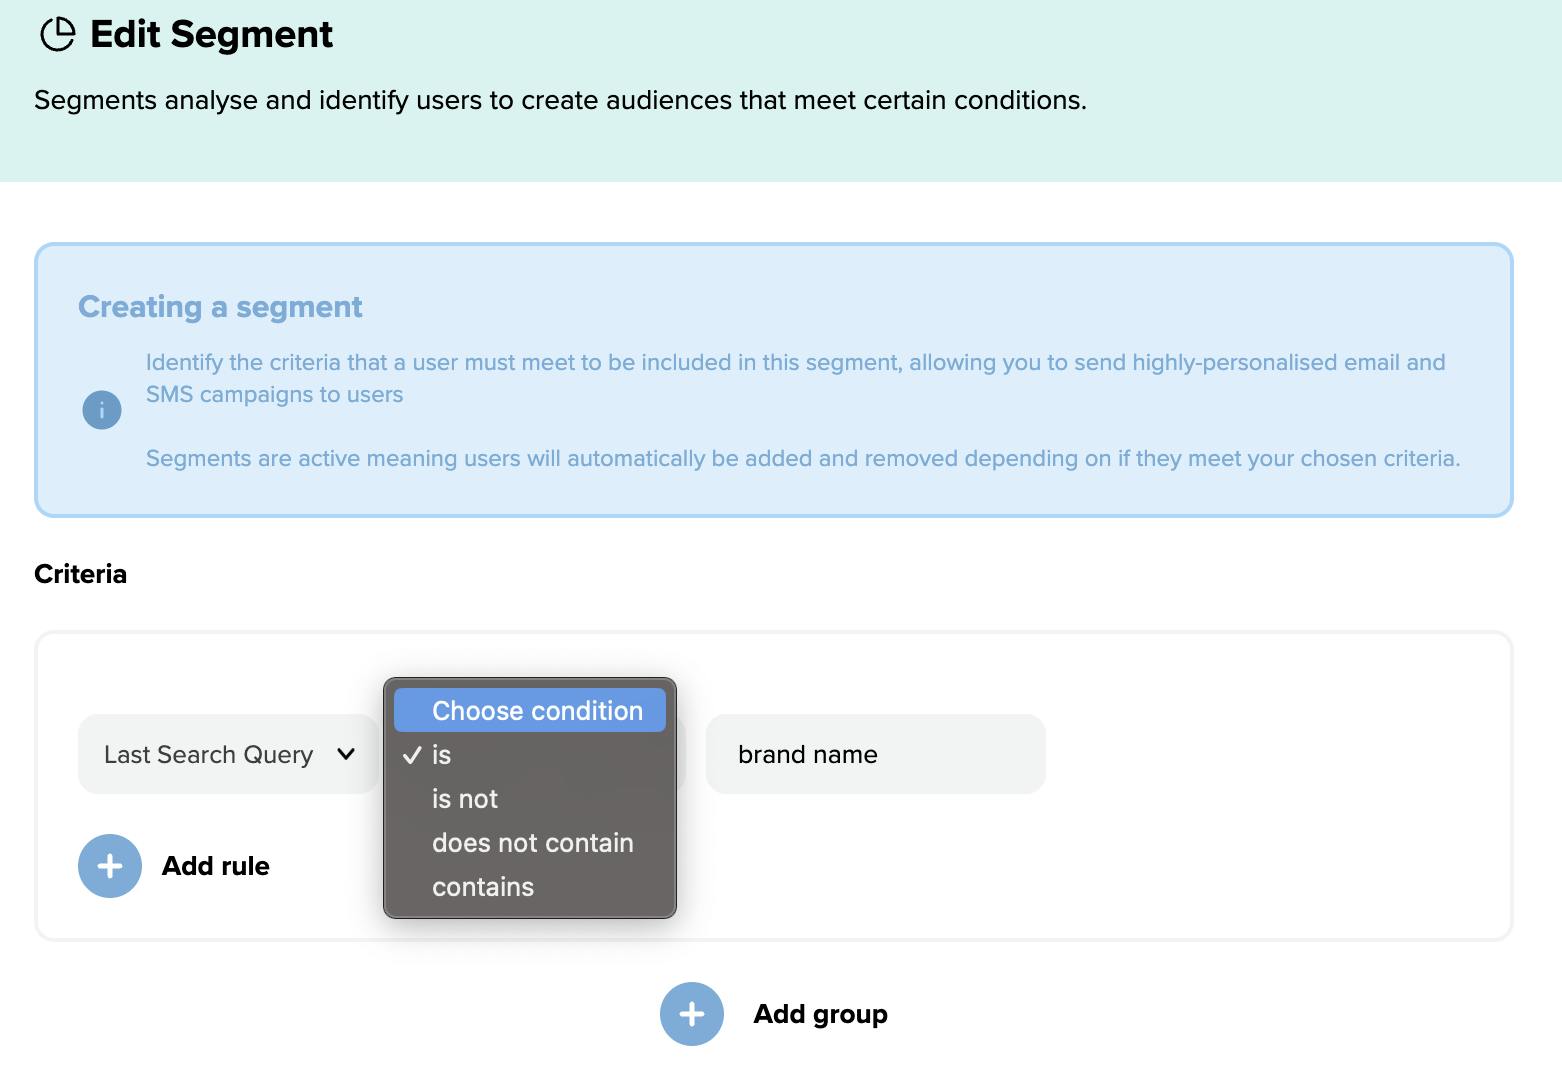
- Last Search Query - add a wording phrase that must match the last query searched by a contact in order to be added to a segment. Choose if this contains, does not contain or is not an exact match.
- Email – Create segments based on whether a contact's email address contains or does not contain a specific domain. For example, filtering by 'email contains gmail' would create a segment of contacts with Gmail addresses.
- Interested in any of - segment by shopper interests. Select from brand, category or interest tags to create a segment on interested products. Interest is classified as any browsing on a product page and then this is assigned to a brand, category and/or a product tag. If no interests have been found, please ensure the tracking of product views and purchases has been completed in order to populate your shopper interests based on the product pages viewed.
- IP Country - This allows segments to be created based on the country detected from the user's IP address when a request is made to Salesfire’s servers. Accuracy is estimated at around 95% as this is based on the location of the ISP (internet service provider) and not necessarily the user's actual location
- Country – This is based on the "country" variable and can be provided through the profile data integration. Currently, we only collect automatically from Shopify marketing update events.
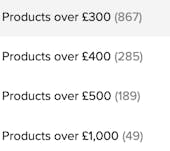
- The interest 'tags' will incorporate any tags attached to product pages such as sale, items over a certain price threshold or new products.
- Age - segment your profile data based on the age gathered from a date of birth entry on a csv import to the Salesfire Lists section of your dashboard.
- Birthday - use date of birth data to create segments based on a profiles birthday within a set number of days to create birthday flow email or SMS campaigns.
- Location - segment profile data based on location (postcode,town,city), this can include within or not within a number of miles or kilometres of a Town, City or Country. This data is established from a csv import via the Lists section of the Salesfire dashboard and must include postcodes to segment by location.
- Person has made a purchase - segment profile data within a segment based on the product name, brand, category or SKU. With the purchase segment option users will also have the ability to creare a segment based on the purchase date and how many times the purchase has been made. If no data has been found, please ensure the tracking of product views and purchases has been completed in order to populate the segment criteria.
- Person has viewed a product - use the viewed product option to segment profile data based on the product name, brand, category and SKU. Users may also use the viewed product attribute to segment profiles by price of item viewed, gender/age category of item viewed and the number of times a product has been viewed. If no data has been found, please ensure the tracking of product views and purchases has been completed in order to populate the segment criteria.
The number featured in brackets next to your segment interest is the number of profiles that have browsed the products featured within the brand, category and interest tag.
Adding a condition
Once you have selected the eligibility criteria for your segment you may choose to add further conditions to segment the data with additional rules, select the Add Condition button to completed this step.
Conditions can also be used within each of the criteria options you have selected to detail greater than, smaller than or equal to a value as well as contain or not contain a particular phrase. For example if you select the condition 'AOV' you can use the condition drop down to the right of this selection to choose if the AOV should be great than, greater than or equals, less than, equals or less than or equals.
The conditions available will differ depending on the eligibility attribute chosen.
Segment Criteria Options – Email Engagement
You can segment your audience based on how they’ve interacted with your email or SMS campaigns using the following criteria:
- Person has received an email: Use this to include or exclude contacts who have received any or a specific email or SMS campaign.
- Person has clicked an email: Segment contacts based on whether they have clicked (or not clicked) within an email or SMS campaign. You can also filter by the number of clicks.
- Person has opened an email: Use this to segment contacts based on whether they have opened a campaign, and how many times.
- Person has performed a Search: Use this segmentation option to group contacts who have searched for a specific phrase or product. Searched At: Specify a timeframe by selecting a date before, after, or between certain dates to filter searches that occurred within that period. Frequency: Control how often a search must have been performed. For example, use ‘never’ to find contacts who have not searched for a specific phrase, or ‘at least’ to define a minimum number of times a search was performed.
Frequency Settings
Each of these criteria includes frequency controls. For example, you can specify how many times a person must have received, opened, or clicked an email for them to be included in the segment.
Setting the frequency to "never" will target users who have not received, opened, or clicked on an email or SMS campaign.
Adding multiple rules
To add multiple rules to your segment campaigns select the Add Rule option to further filter the number of people in each segment.
When adding further rules to your segment you will be able to view the audience number to review how much data has been added to the segment.
Once you are happy with your segment, select Continue to create and add the segment to your dashboard ready for use within your campaign flows.
Salesfire refresh every segment at 3am every day. A segment is also refreshed when you save it's criteria/refresh. Last updated and refreshed can be viewed within the Segments and Lists tab of your dashboard.
Exporting Segments
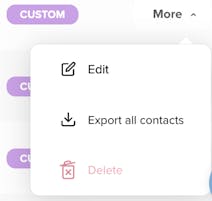
Any segments created can be exported by selecting the More button next to your created segment and selecting Export all contacts.
Learn how to use your segments with an email or SMS sequence.
If you are looking to create a list of data that does not use Salesfire Segments and would like to create a list to target with a bespoke campaign, see our guide on how to import contacts for lists.